エールを使用するには、Node.js 20以上が必要です。
クラスターのセットアップ
Docker Desktop
Docker Desktop
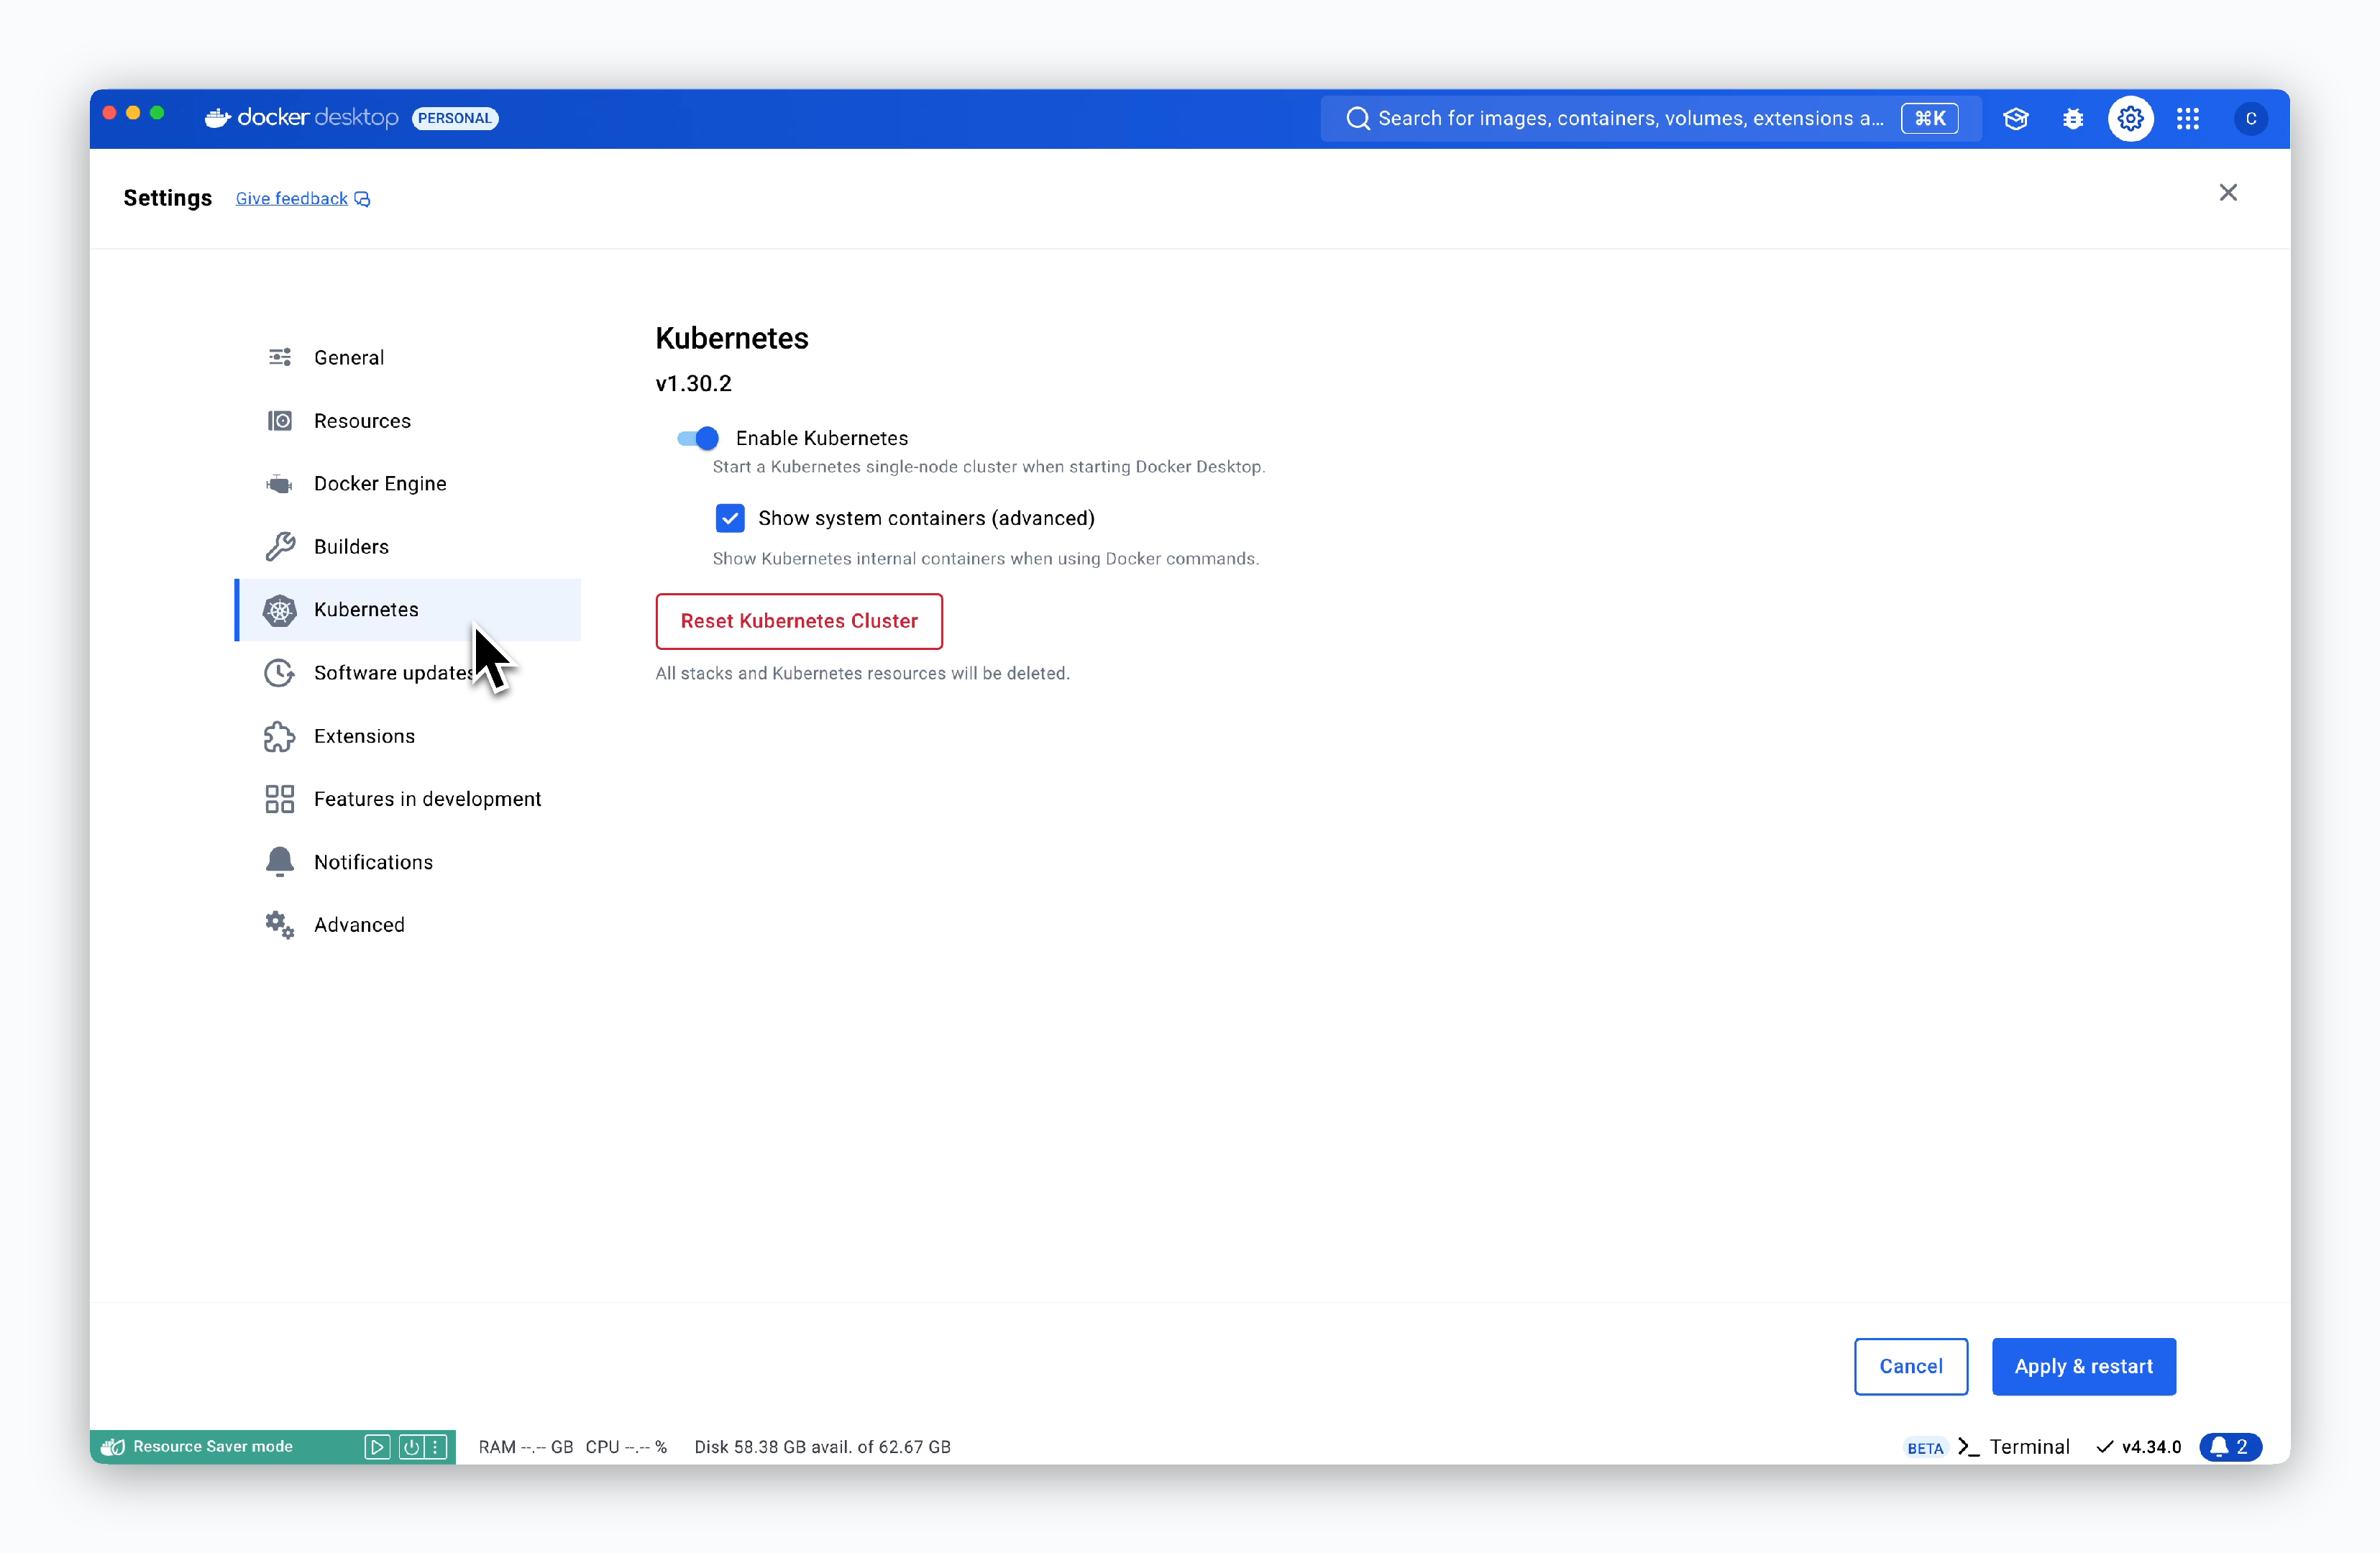
Docker Desktop のウェブサイトにアクセスし、OSとアーキテクチャに合ったインストールファイルをダウンロードしてください。インストール完了後、ターミナルで以下のコマンドを入力してDockerが正常にインストールされたことを確認します。Kubernetes クラスターのセットアップ1. Docker Desktopの設定画面に移動し、左のメニューからKubernetesを選択します。次に、Enable Kubernetesを有効化し、下部の 2. kubectlコマンドがDocker Desktopを通じて生成されたKubernetesクラスターに適用されるよう、以下のコマンドを実行してください。3. ターミナルで以下のコマンドを実行し、クラスターが正常に動作しているか確認できます。STATUSがReadyでない場合や、以下の内容が表示されない場合、Kubernetesクラスターが正常に利用できない状態ですので、コンテキストやDocker Desktopの状態を確認する必要があります。
Apply & restartをクリックしてください。
OrbStack
OrbStack
HomeBrewがインストールされているmacOSで、以下のコマンドを実行してください。Kubernetes クラスターのセットアップ1. OrbStackの設定画面に移動し、Kubernetesタブを選択します。
次に、Enable Kubernetes clusterおよびExpose services to local network devicesにチェックを入れ、下部の 2. kubectlコマンドがOrbStackを通じて生成されたKubernetesクラスターに適用されるよう、以下のコマンドを実行してください。3. ターミナルで以下のコマンドを実行し、クラスターが正常に動作しているか確認できます。STATUSがReadyでない場合や、以下の内容が表示されない場合、Kubernetesクラスターが正常に利用できない状態ですので、コンテキストやOrbStackの状態を確認する必要があります。
Applyをクリックしてください。
kind
kind
kindを利用するには、v1.16以上のgoがインストールされている必要があります。
このページからOSごとのインストーラをダウンロードし、インストール後、以下のコマンドを入力してシェルにgoのパスを登録してください。
エールのインストールと実行
ローカル環境とGitHubを連携し、GitHubリポジトリのソースコードをデプロイできます。
ローカル環境とGitHubを連携する
ローカル環境とGitHubを連携する
1. GitHub Appsの作成
 1-2. Webhookの無効化

2. GitHub App情報の取得


GitHubにログイン後、Settings > Developer Settings > GitHub Appsページで New GitHub App をクリックして、GitHub App作成を開始します。1-1. 基本情報の入力

GitHub Appを作成するための情報を以下のように入力してください。
- GitHub App name : GitHub Appの名前
- Homepage URL
- GitHub OAuthを適用するURL
- ローカルアクセスアドレス
http://localhost:9001
- Callback URL(
Add Callback URLで追加)http://localhost:9009/oauth/github/callbackhttp://localhost:9009/oauth/github/connect/callback
この画面で入力したGitHub App nameはエールのGitHub OAuth登録時に使用されます。

WebhookセクションのActiveチェックを解除して無効化してください。1-3. 権限の付与とAPP作成

Permissionセクションで以下の権限を付与し、Create GitHub AppをクリックしてAPPを作成してください。
Repository permissions (9)
Repository permissions (9)
- Read and Write
- Actions
- Administration
- Commit statuses
- Contents
- Deployments
- Issues
- Pull requests
- Workflows
- Read-only
- Metadata
Organization permissions (2)
Organization permissions (2)
- Read and Write
- Administration
- Read-only
- Members
Account permissions (1)
Account permissions (1)
- Read-only
- Email addresses
エールのGitHub OAuthを追加するために、GitHub App Name以外に以下の4つのIDとKeyの値が必要です。
- App ID
- Client ID
- Client Secret
- Private Key

権限付与後にAppが作成されると、App IDとClient IDを確認できます。2-2. Client Secretの取得

同じ画面でGenerate a new client secretをクリックして、Client Secretを生成し、確認してください。
2-3. Private Keyの取得
画面下部のGenerate a private keyをクリックするとpemファイルがダウンロードされます。
3. エール運用システムへの登録
ブラウザのアドレスバーにhttp://localhost:9001を入力して運用システムにアクセスし、設定 > 認証手段 > GitHubドロップダウンをクリックして、前の手順で取得した値を各フィールドに入力し、適用するをクリックしてください。
- APP_NAME : GitHub Appの名前
- APP_ID : App ID
- CLIENT_ID : Client ID
- CLIENT_SECRET : Client secret
- APP_PRIVATE_KEY: Private key pemファイルの値
ダッシュボードにアクセス

ブラウザのアドレスバーにhttp://localhost:9001を入力すると、エールダッシュボードにアクセスできます。初回アクセス時は、デフォルトで作成される@devスペースに接続されます。
運用システムにアクセス
運用システムにアクセス

左上のスペース名をクリックして運用システムを選択すると、アクセスできます。
デプロイ

ダッシュボードのまたは⌘ + Kで生成されるデプロイモーダルからHTTPBinを選択します。

設定を変更せずに、画面下部のデプロイをクリックします。

サービスの起動が完了すると、画面に表示される状態が稼働中に変更されます。アクセスをクリックすると、起動したサービスに接続できます。