Guide for deploying Nest.js applications.
Prerequisites
Supported Node.js Versions
Supported Node.js Versions
- 8, 10, 12, 14, 16, 18, 20
- Nest.js requires Node.js version 12 or higher, but version 13 is not supported.
Select Template and Repository
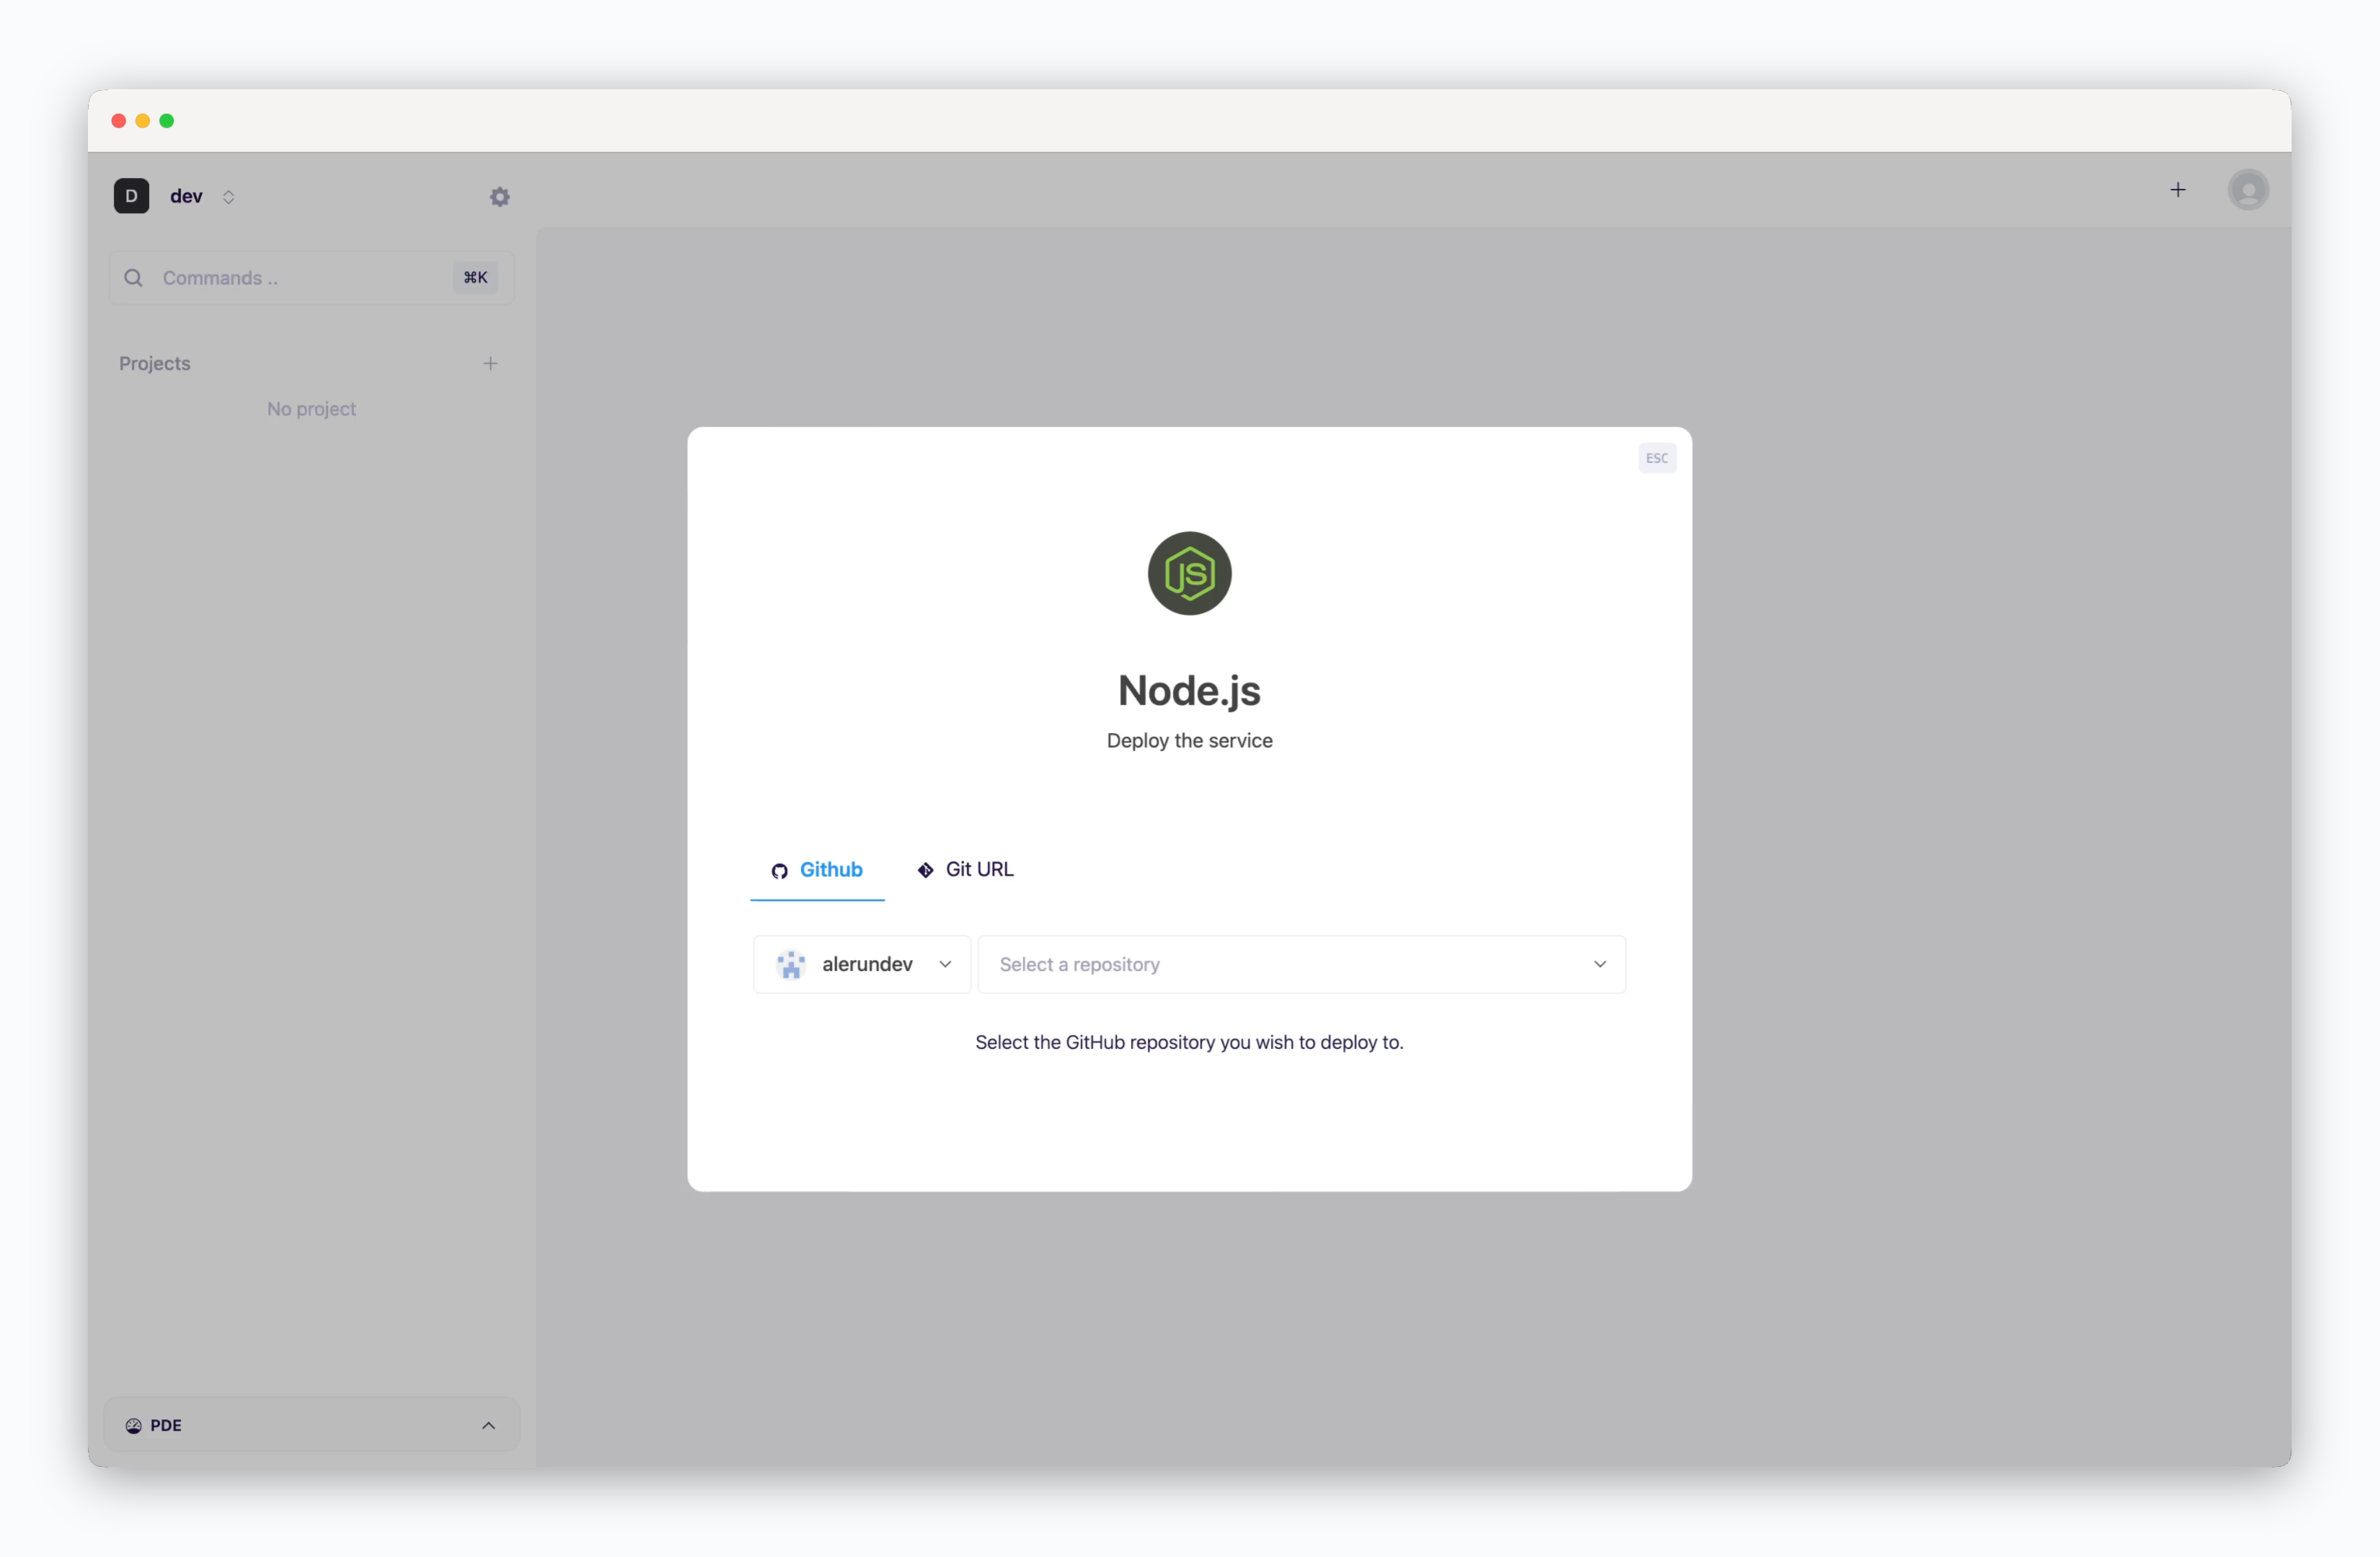
On the dashboard, click or ⌘ + K to open the deployment modal and select the Node.js template. Then choose a GitHub repository from the dropdown or input a Git repository URL in the Git URL tab.
Deployment Settings
Apply the following settings to ensure your service runs seamlessly.
Basic Settings
Basic Settings
- Version
- Environment Variables
- Port Number:
3000(default) - Install Command: npm/yarn package install command
- Build Command: npm/yarn build command
- Start Command: node execution command
- Health Check: Endpoint for verifying container status
More Options
More Options
- Build Variables: Variables to include during container image builds
- Update strategy
- Rolling Update: Deploy new version incrementally while maintaining service availability. Requires sufficient node resources
- Recreate: Stop all instances before deploying new version. Results in downtime
- .npmrc: Configuration for npm package registry path, proxy settings, etc.
Set Resources and Deploy
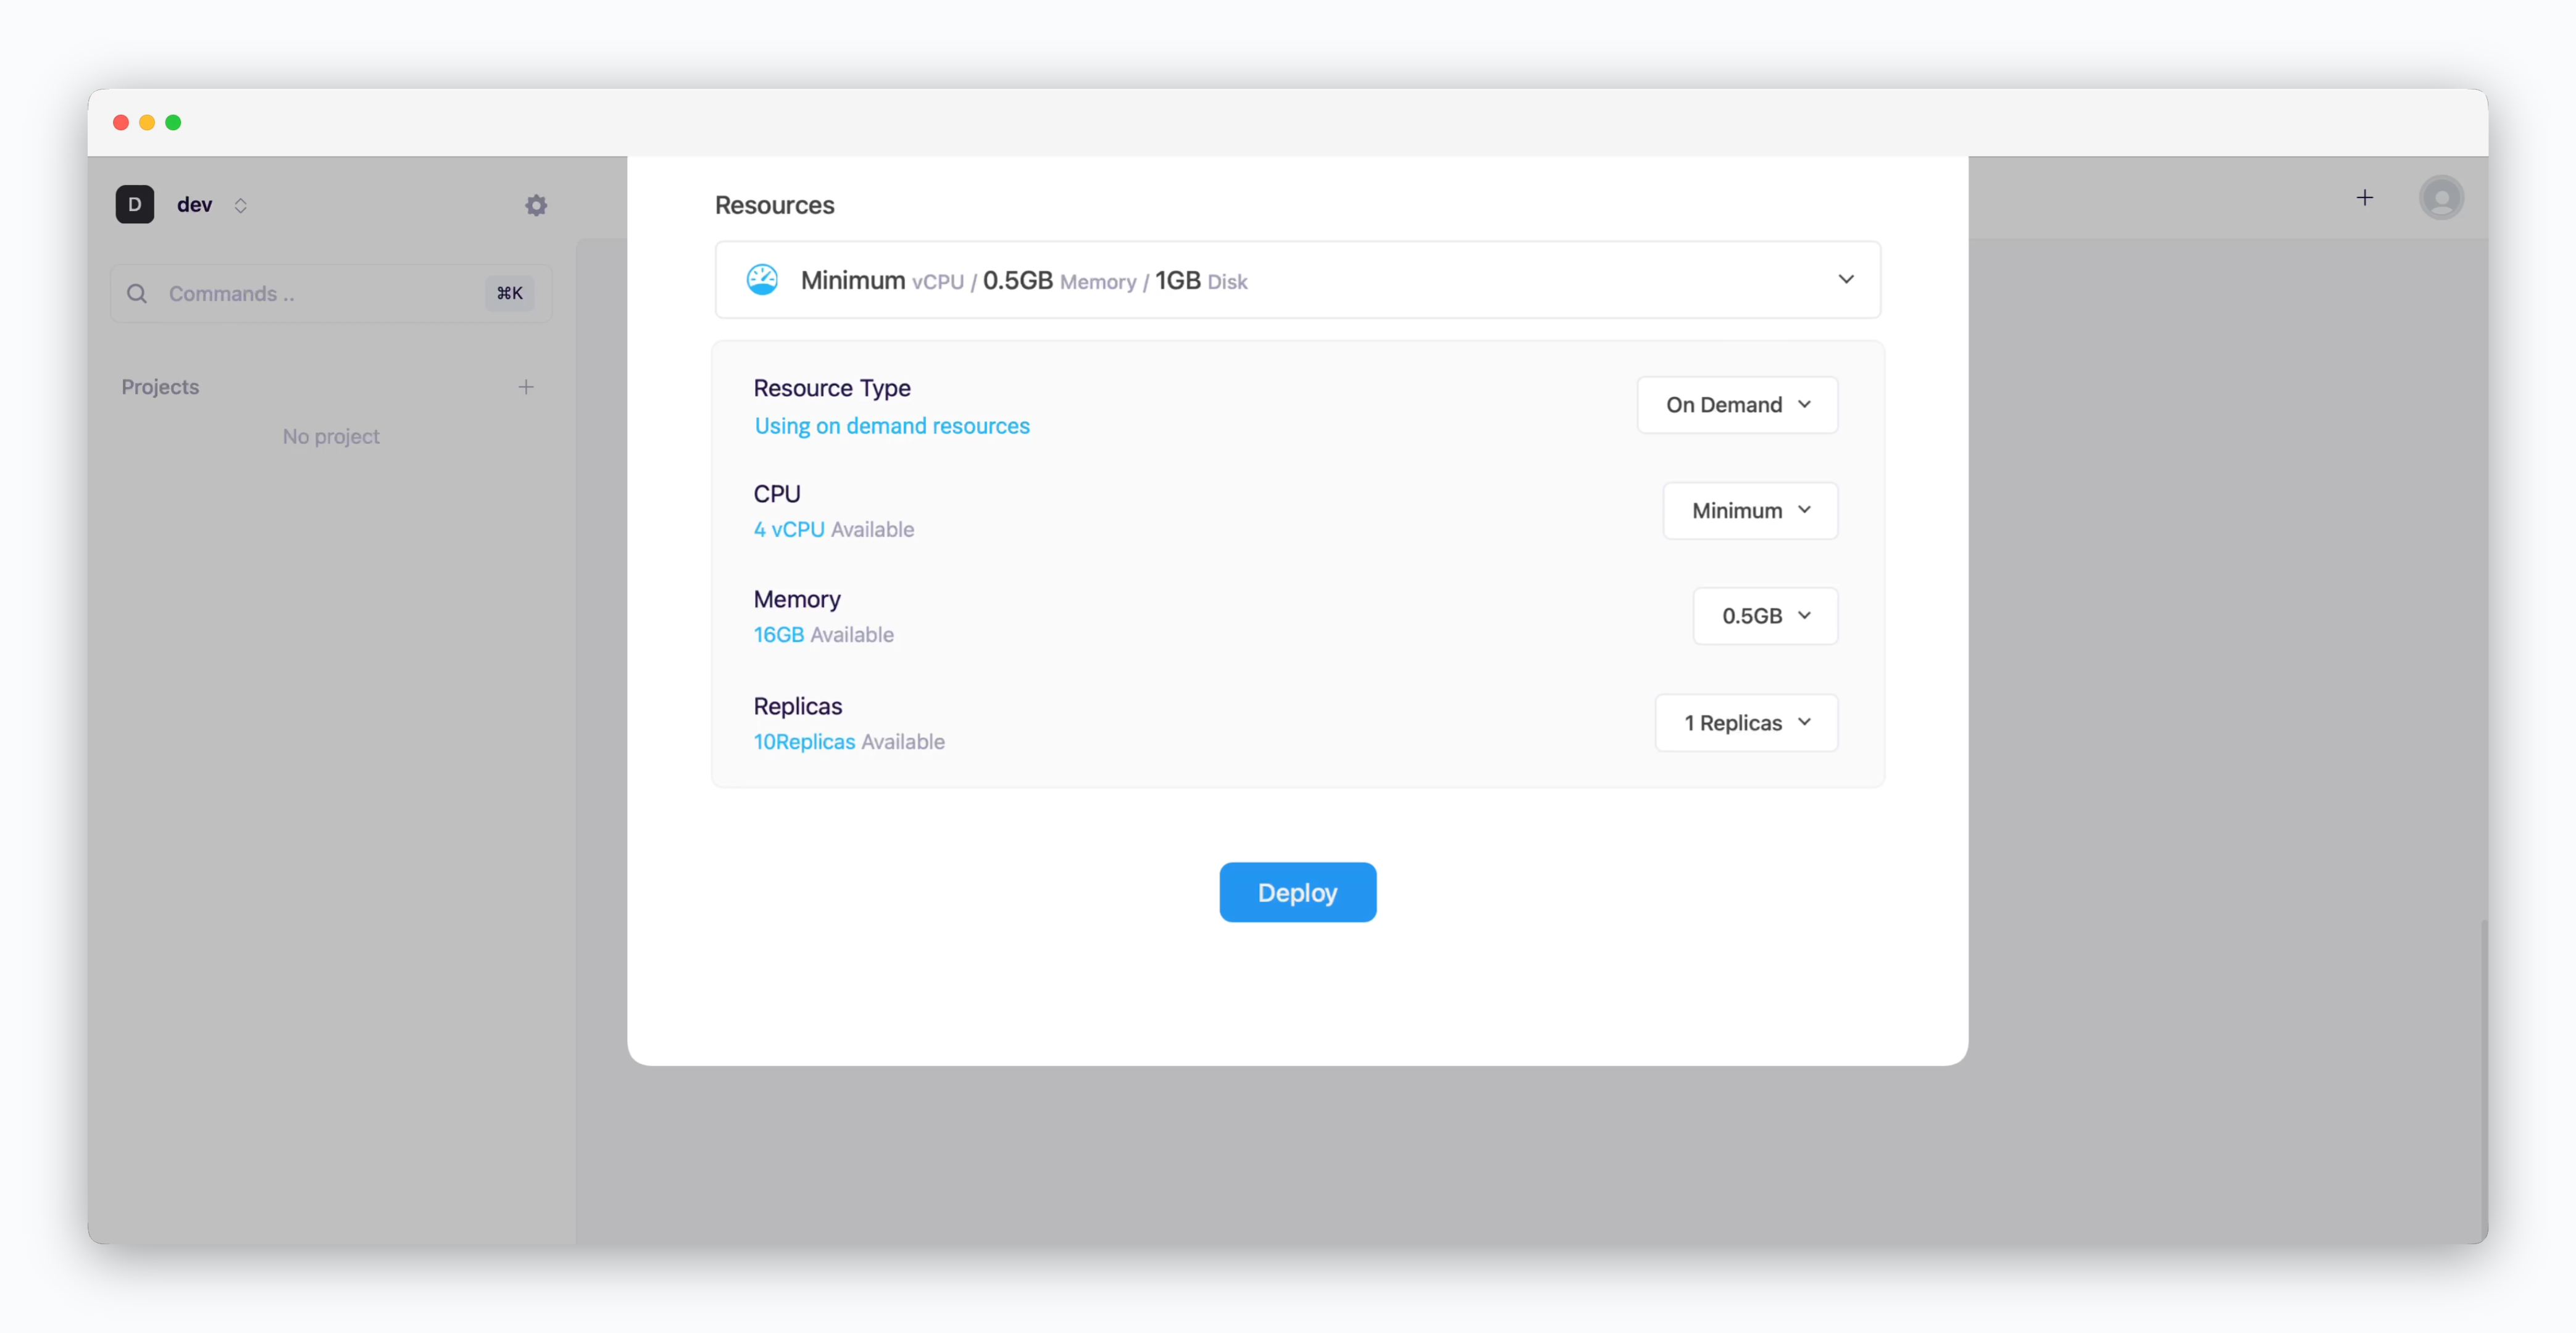
- Resource Type: Select between On-demand or Spot instance types
- CPU: Maximum vCPU resource for the service. Minimum vCPU means 0.1 vCPU
- Memory: Maximum memory size your service can use
- Replica: Number of service replicas for high availability and load balancing
-
Deploy: Click
Deploy
Once deployment is complete, you can access the web page via the preview domain or send requests using an API tool.
Nest.js Docs